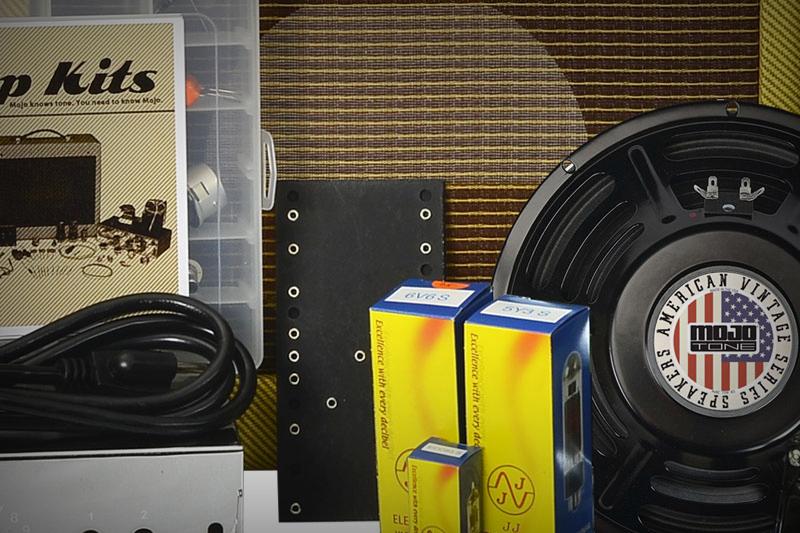
So, you’re thinking about building one of Mojotone’s many amplifier kits but you aren’t certain where to begin, or maybe all of the small components and technical jargon is a little overwhelming. That’s why we’ve put together this comprehensive amp kit primer.
In today’s article we will talk about a few parts that are common amongst most tube amplifiers to give you a basic understanding of the major components and their functions. Then we will discuss what the “difficulty ratings” mean on Mojotone’s amplifier kits. Finally, we will go over a few things one should always keep in mind when building an amplifier, no matter the difficulty rating.
TRANSFORMERS
Amps have both power and output transformers. Both have a “primary” and a “secondary.” Both have laminated cores and both handle high voltage.
Power transformer primary and secondary coils are generally as follows:
Primary: This is the power coming in from the wall. Some transformers have multiple primaries that can take different wall voltages like 100v, 120v, 230v and 240v.
Secondary: high voltage secondary for the rectifier, 6.3v secondary for filaments and 5v for rectifier filaments (if the circuit has a tube rectifier).
Output transformer primary and secondary coils are as follows:
Primary: can be 2 or 3 wires. These feed B+ to the plate of the output tubes and carry high voltage.
Secondary: This is the speaker output section. These can have 2 or more wires, usually 3 or 4 wires for a push-pull, and 2 wires for a single ended amp.
Rectifier: This can be solid state or tube. Either way, this takes high AC voltage and turns it into DC voltage. Tube rectifiers will need the 5v or 6v filament winding on the power transformer.
Turret, fiber board, or point to point. Turret and fiber boards are the main “spine” of the amp. Turret boards were usually used by British amp companies and are heavier duty than Fender’s vulcanized paper fiberboard. Point to point wiring is just that: No boards, just components soldered directly to the tube sockets or a tag/terminal strip. This is common among older, smaller amps to save on cost.
Power supply. This is important! Every amp has a power supply. This involves the power transformer, filter caps, rectifier and other components, depending on the amp. This supplies voltage to different parts of the amp for the different circuits. What the voltage is depends on the type of amp it is. Is it a cathode bias or fixed bias amp? Does it have 2,3, or 4 stages of filtering? Does it have a reverb driver? Etc. You’ll need to know this information for ease of troubleshooting and keeping yourself safe.
Preamp section: this is where your signal is amplified and sent to the various stages for amplification as well as modifying the tone via various potentiometers.
Phase Inverter: some amps have them and some don’t. There are also different types of phase inverter circuits. It may be best to research phase inverters separately as this is a topic that encompasses a ton of information.
Output section: this is what does the heavy lifting for the amp. It takes the preamp signal and boosts it via the output transformer, tube plates, negative feedback loop, etc.
Bias circuits: this is what regulates the idle of the output tubes so the amp can run efficiently. This voltage is negative on fixed-bias amps. There are fixed-bias amps, cathode-biased amps and fixed-bias amps with a bias balance. Know what all three are and note the differences.
Preamp tubes: these are most commonly 9 pin (noval) tubes that can have 2 triodes in the same glass envelope. Examples are 12AY7, 12AT7, 12AX7, 7025, 5751, etc.
Output or power tubes: these are larger than preamp tubes and have various methods of operation. They are commonly 8 pin (octal) pentodes, power beam tubes, and tetrodes. These are limited to one amplification circuit per tube. Examples are 6V6, 6L6, EL34, EL84, KT88’s etc.
Rectifiers: tube rectifiers have various socket requirements but, they are usually require octal or noval sockets and are very simple in design. These are generally diode tubes. Research the function of these tubes as a lot of them are interchangeable.
Same tubes can have different designators. Example: An EL84 is a 6BQ5. A 12AX7 is the same as a ECC83 and so on. These are generally interchangeable.
Tube anatomy: tubes can be called a diode, a triode, a pentode, or a tetrode, depending on the construction of the tube itself. Even though they may have the same base that fits your socket, this doesn’t mean it will work. All tubes will have a cathode and a plate. This makes up a diode. When you add components like a control grid, screen and suppressor, the tube type changes.
Filament wiring: this is usually to pins 2 and 7 on the octals and 4+5 and 9 on 9-pin sockets and 2 and 8 on common rectifiers.
Potentiometers: these have many different values and do various things. Think of them as variable resistors. Tone and volume controls are usually pots. Bias supplies also have these, but they are not the same as regular signal/tone pots.
Capacitors: these also have different value and voltage ratings in addition to different types of construction. These include Orange Drops (polyester film), Mojo KingCap and Sprague Atom (electrolytic polarized), ceramic disk, Dijon (film and foil) and Mica type caps. These tend to look very different by design. A polarized cap means it needs to go into the circuit in a particular orientation, usually denoted by a ‘+’ or a ‘–’ on the side of the cap in most cases.
Resistors: like capacitors, these have different values, types, and voltage ratings. Different types are carbon comp, metal oxide, metal film, and carbon film. Carbon comps usually look different than carbon film and metal film. Also, generally speaking, the larger the resistor, the greater the power it can tolerate. Common values in tube amps are 220k, 1Meg, 68K, 100K etc. These can be anywhere from 1/2w to 10w, depending on the application. Carbon comps are generally used in Fender amps and Carbon film are used in British style amps historically.
DIFFICULTY RATINGS 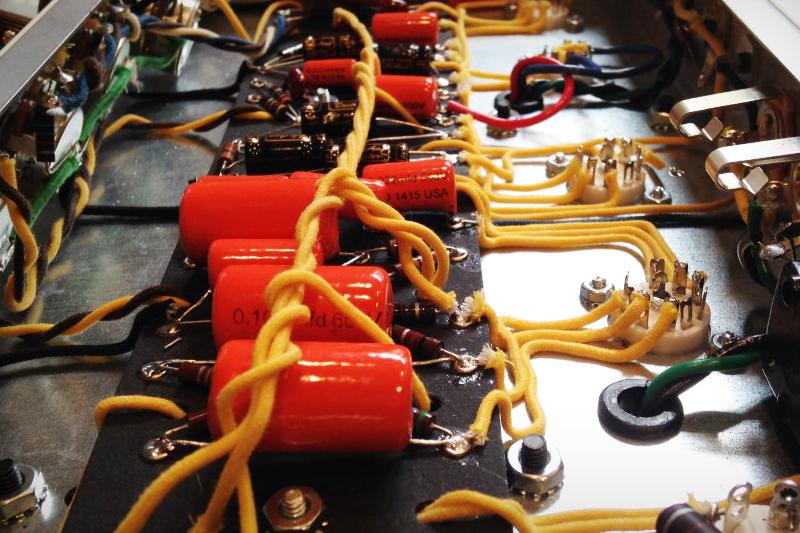
All of Mojotone’s Amplifier kits are rated for difficulty with a number 1 through 5, with 1 being the easiest and 5 being the most difficult. Let’s break down what makes an amp build easy or difficult:
Level 1
Requires basic soldering skills and basic knowledge of AC and DC power circuits. You should have a good, if minimal ability to read and understand basic wiring and schematic diagrams. Know the parts by looking at them (not the value, just the difference between a resistor and a capacitor). Know not to work on an energized amp and what (and where) not to touch inside the amp before the caps have discharged. For ease of learning, the design has all the basic necessary systems for an amp: power supply, preamp, and SE output section.
Level 2
Includes the skills above and adds a little more knowledge, generally speaking, of what the different circuits in the amps are. Level 2 also requires better, more consistent soldering skills to eliminate cold solder joints and not damaging a component when removed and re-installed. More consistent lead dress and maintaining a clean chassis appearance will be crucial. You should know when and how an amp should be bled of voltage before working on it and should also be able to perform basic modifications and repairs. Knowledge of the function of different cabinet types, general construction, and materials used for different types of amps. This level of design incorporates push pull output section as well as more complex preamp tone controls.
Level 3
Requires all the skills of levels 1 and 2 but adds more complexity in circuits, a better understanding of the interaction of the parts involved, and the ability to isolate issues by looking at individual circuits versus the entire amp to find them. Your soldering should be at the peak of your ability by now, and you should be able to identify more common resistors via their color coding. Your safety levels at this point should be at their peak by, as well and your knowledge of when and where to look at an energized amp without harming yourself, people around you, or the amp.
Example: being able to work by yourself with energized amps with meters and oscilloscopes to determine an issue with no supervision. You should also be able to do more advanced modifications to an amp circuit. You should, by now, have a good understanding of tube function and the difference between more popular tubes in use. You are more advanced in understanding cab and speaker interaction and understanding basic speaker info and what it means to the amp and player. This level of design incorporates additional preamp channels and higher output.
Level 4
All the skills of levels 1, 2 and 3 with the addition of building efficiency, proper lead dress of transformers, and all physical wiring inside the amp. An in-depth understanding of how transformers work as well as issues that arise from transformer-related issues throughout an amp. Also, a full understanding of how different tubes work as well as the electronic support different tubes require (i.e.- 6L6 and EL34 swaps/modifications). You are also designing intermediate amps by now and should be able to identify and modify basically any amp you come across. You are also repairing, restoring, and rebuilding vintage equipment with little difficulty. At this level, you know the history behind the larger vintage amp companies and you are able to talk fluently about the ins and outs of many different popular models. Building an amp is easy now and you seldom get things wrong while doing it. This level of design incorporates effects and high gain.
Level 5
All skills of levels 1 through 4 and an understanding of tube amp theory, most aspects of design, and development of all things tube-amp related. This level seldom ever finds flaws in amp self-designs and is an encyclopedia of the evolution of guitar amp design and layout. This level of build design incorporates additional skills like advanced lead dress, board assembly/layout, and ability to work on and build high-power amps, with a large amount of parts, confidently. This person is ready to take on a challenge, has an understanding of advanced amp functions.
THINGS TO KEEP IN MIND REGARDLESS OF DIFFICULTY...
Planning
It all starts with a thought. Think about the amp you want to build. It could be an existing design, a completely new custom build, or a mixture of the two. You want to be absolutely sure of what you are going to make and what you want the outcome to be. Do you need it to have a lot of power? Do you need it to be light and portable? Do you want it to have reverb or tremolo? Is it going to be a head or a combo? These are the questions you need to determine in the beginning stages of building an amp.
Research
Do research on the style of amp you would like to build. Sure, it may be a custom amp, but it more than likely uses parts and/or circuits from existing designs. Read all you can about the basics of tube amp design, nomenclature, basic theories and construction methods, and build techniques. Many principles carry across most guitar amp design and manufacture.
Preparation
Sit down and write out what you are going to need to build the amp. You don’t need to buy everything up front, just get what you need to get started and acquire the rest as you go along. It’s advisable that you get the fitted parts such as chassis, faceplates, transformers, tube sockets, etc., from one place as you could run into fitment issues down the road. This will avoid having issues like having to drill out the chassis (if not custom) if certain components do not fit another vendor’s chassis. This goes for cabinets as well. If you are unsure about something fitting, talk to a sales person, they can save you a lot of headaches down the road.
Adequate Workspace
While you are waiting on parts, before you get started on the actual build, find a place you can work with plenty of room, necessary power requirements, and ventilation. Keep in mind you could potentially be in this area for days, weeks, or even months (for us slow builders), and you want to limit the traffic around the area. There are going to be a lot of small parts that can get lost, so you want the area to stay as organized as possible. There is nothing worse than being two hours into a build when you have laser-focus, and suddenly you can’t find your needle-nose pliers.
Organization
Organize your parts so that you have easy access to everything, and do a count of the small parts you will need to ensure you have everything before you start any build. You don’t want to get through half of your chassis build and realize you’re missing hardware or a tube socket. Keep all of your resistors, caps, and other small parts segregated so that they are easy to locate.
Compartmentalize
Try not to look at the amp as a whole while you build. This can be overwhelming and could derail the project before you even get started. As you assemble your amp, imagine the build as a series of sub-assemblies. A good way of looking at things is to break them down into 4 parts:
Mechanical: all your hardware, chassis, transformers, tube sockets, potentiometers, face/backplates, jacks, etc.
Board Assembly (if applicable): your fiberboard or turret board, resistors, caps, diodes, wiring leads etc.
Wired Assembly: this is the point where you mate the board and chassis together, wire up your filaments, transformers, tube socket, and pot leads, etc.
Final Assembly: this will be the complete build which includes the final testing, QC work, final cab prep such as speaker installation (if a combo cab is used), speaker harness fabrication, drilling of cab to mount the chassis, etc.
Be Methodical and Pace Yourself
Take your time, and methodically develop an assembly regimine. This creates stopping points in your build if need be, and gives the ease of knowing exactly where you left off when you come back to it. Keep your area as clean as possible to facilitate the ease of finding dropped or misplaced parts and prevent from scratching the chassis. Take breaks to reset your mind, clean your workspace, and grab a cup of coffee.
Go Easy On Yourself
Accept the fact that you may make mistakes. This is part of the learning process. The issue comes in where you get it all together, it looks great and you’re 100% positive you’ve assembled it correctly and....wait for it….it doesn’t work. We have a hard time trying to believe we have done something wrong, but 9 times out of 10, we have. This is where step 2 comes into play and will save you hours in troubleshooting the amp. If you have a good foundation of the basics, most problems are solved in less than 15 minutes. Remember, there is a reason you wanted to build an amp. The journey is just as important as the destination.
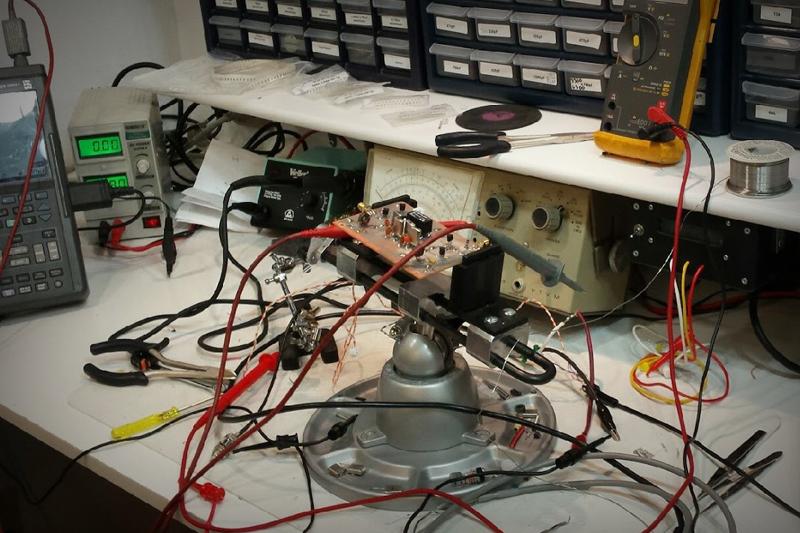
Testing
Learn basic test procedures. This will include voltage measuring (both AC and DC), measuring resistances, measuring continuity, bias current, etc. It always helps to have another set of eyes on your build as you go along. This could be a friend, a local tech, somebody at work etc. Sometimes we miss the obvious.
...and this concludes our Amp Kit Primer. Hopefully you now have a little better perspective on what you’ll need (both literally and mentally) to complete a project, as well as an idea of which difficulty level you match up with. As always, thanks for tuning in to Mojotone’s Make It Monday -- see you next time!